To Create a File Index
-
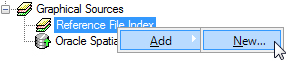
In Bentley Geospatial Administrator, right-click the Reference File Index node and select .
The Graphical Source wizard opens.
-
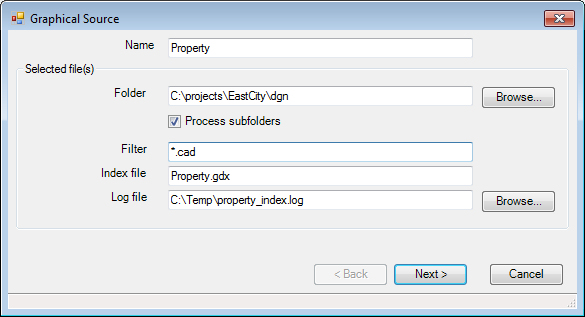
Set the following:
- Name - The name of the file index in the Map project.
- Folder - the folder that contains the files to be indexed.
- Process subfolders - some files are stored in a series of subfolders. Check this option if subfolders are to be processed.
- Filter - this will help select the files to be processed if more than one type of file exists in the folder.
- Index file - the actual name of the index file. It will be placed in the folder as specified above.
- Log file - the name of a file to contain any processing messages
-
Click Next.
The next page of the wizard displays a list of levels. By default, all levels will be indexed. In some cases, users put metadata on certain levels that are outside the spatial area of the actual spatial data in the file. If this is the case, you can select those levels so they will not be processed by the file index tool.
- Select the levels you want to exclude from processing and click Next.
-
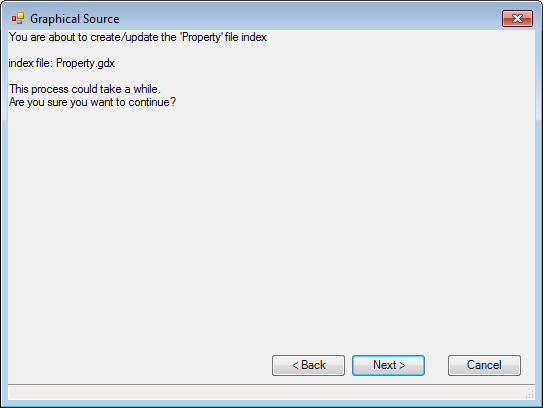
Click Next to begin indexing.
The selected files are indexed and a new index is placed in the Reference File Index node.
-
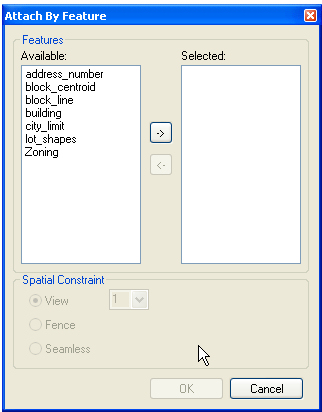
Right-click the new index and select Associate features.
A dialog opens with a list of features, sorted by category. In most cases, all of the features for a particular category belong in one index.
-
Select the features that can be found in this file index and click OK.
The selected features are associated with the file index.
These features are now available in Bentley Map Map Manager as features that can be Attached by Feature.